Do’s
- Include Picture to Supports Your Listing: The descriptions of your listing are the subjects of your listing images.
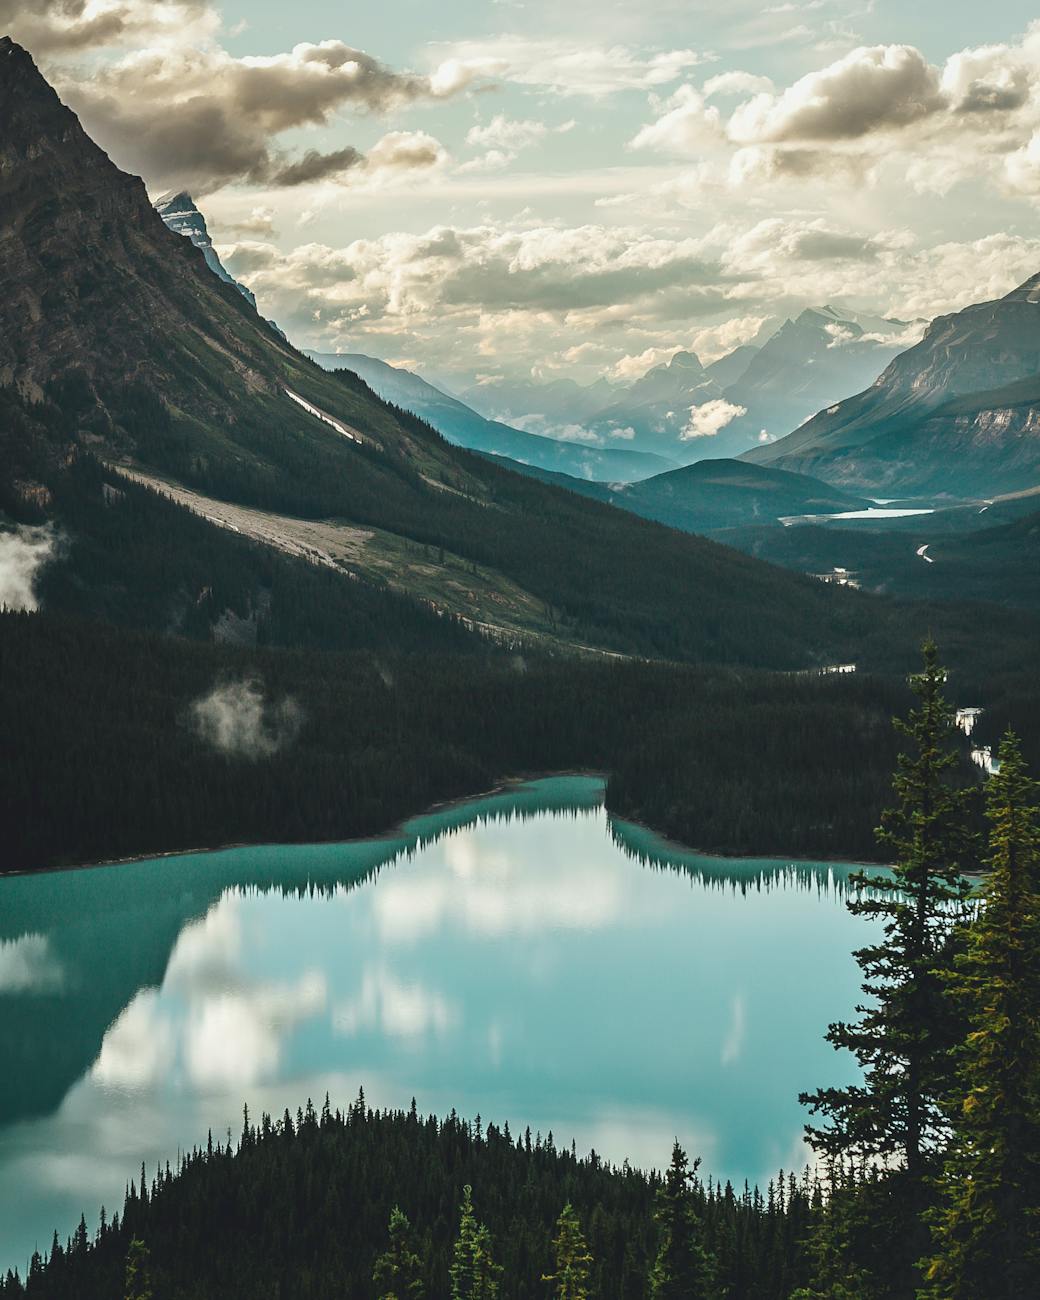
- Use Good-Quality Photos: Ensure your images are sharp and high-resolution.
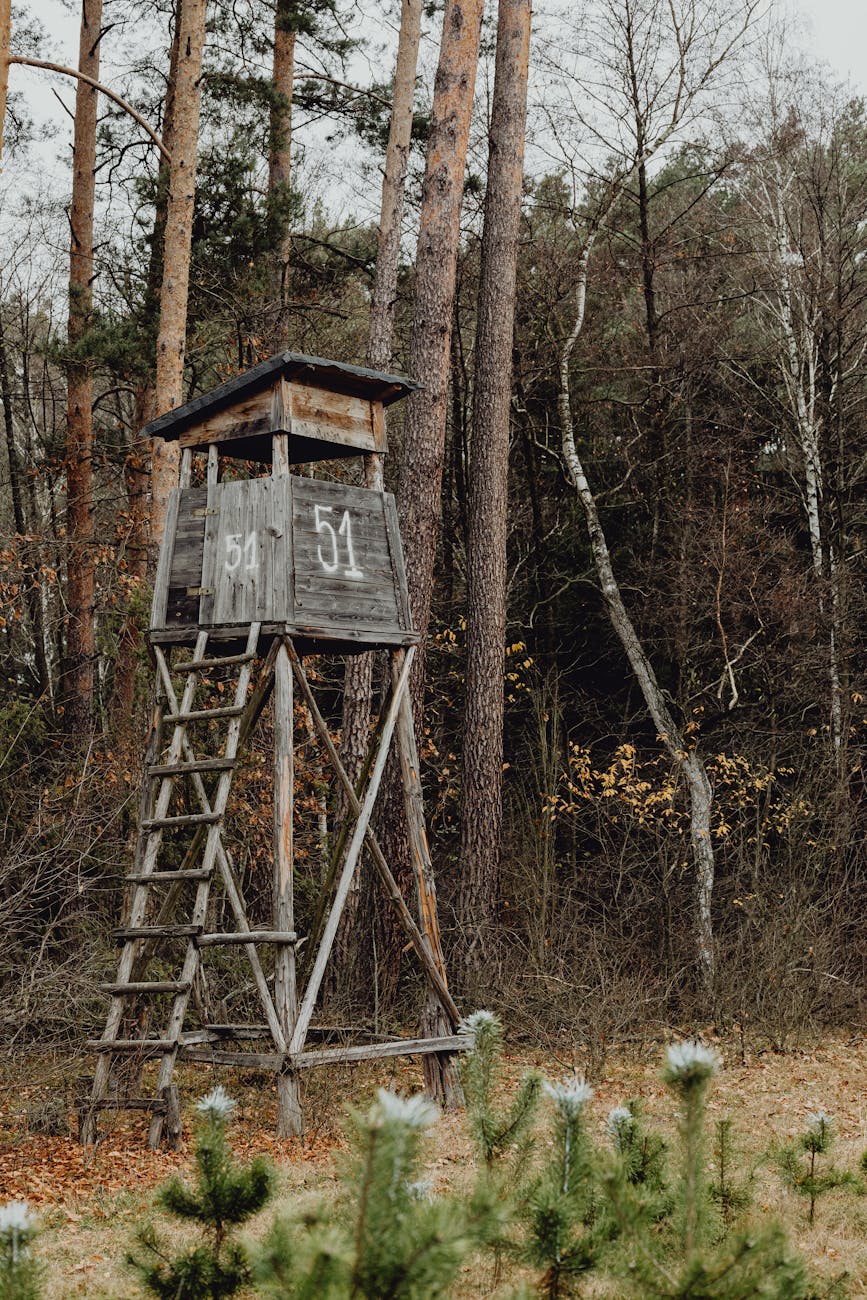
- Stage the Property: Add features like clover fields or tree stands in your photos.
- Avoid Messy Backgrounds: Thin out trees to let in light and improve land management.
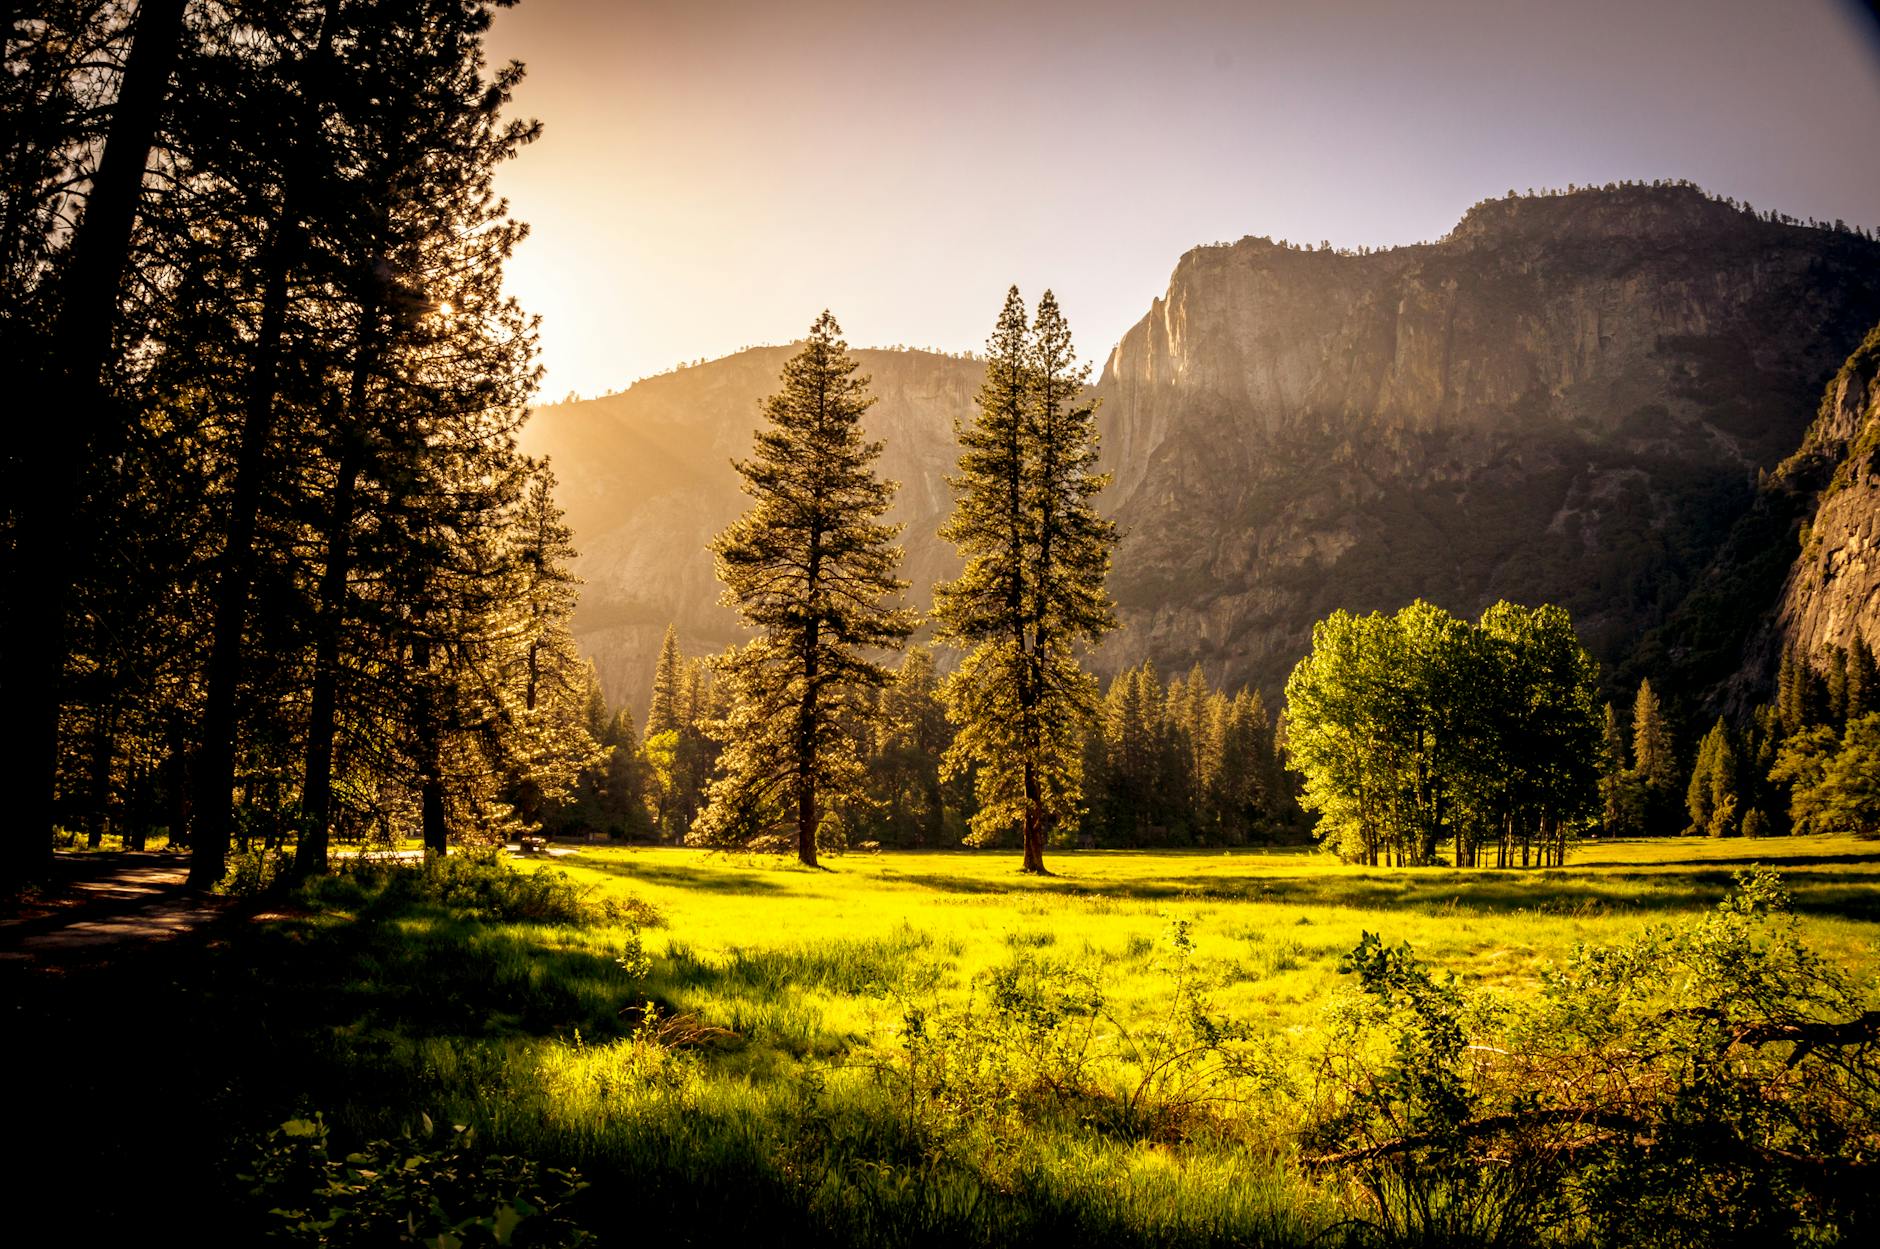
- Highlight Key Features: Show unique aspects like waterholes, rolling landscapes, and hunting stands.
- Use Natural Light: Take photos during early morning or late afternoon for the best lighting.
- Include Aerial Shots: Use drones for aerial images and mark property boundaries for clarity.
- Show Different Angles: Photograph from multiple access points to give a full sense of the property.
Don’ts
- Skip Misleading Photos: Only include images of what’s actually part of the listing to avoid disappointment.
- Avoid Over-Editing: Keep edits natural to avoid misrepresentation.
- Don’t Forget Seasonal Updates: Update photos with the seasons or include images from all seasons.
- Skip Dark and Blurry Images: Ensure all photos are well-lit, clear, and taken from good angles.
- Don’t Ignore Details: Maintain roads and remove junk piles; visitors notice these details.
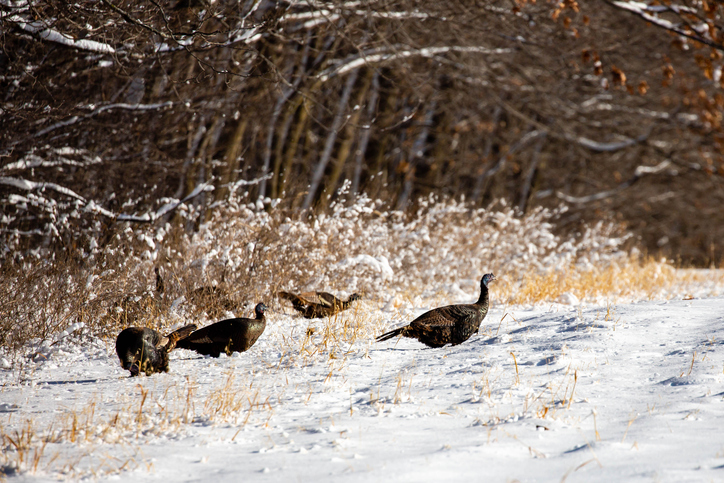
- Add Wildlife to Boring Landscapes: Wildlife can make flat landscapes more appealing.
- Skip Irrelevant Shots: Avoid photos that don’t add value, like close-ups of hunted animals or weapons.
- Don’t Use Filters: Stick to natural, true-to-life images.
Latest documents for
